Automation: n8n, Make, your own server
App events go out to you as a webhook, and rows you send land in a table.
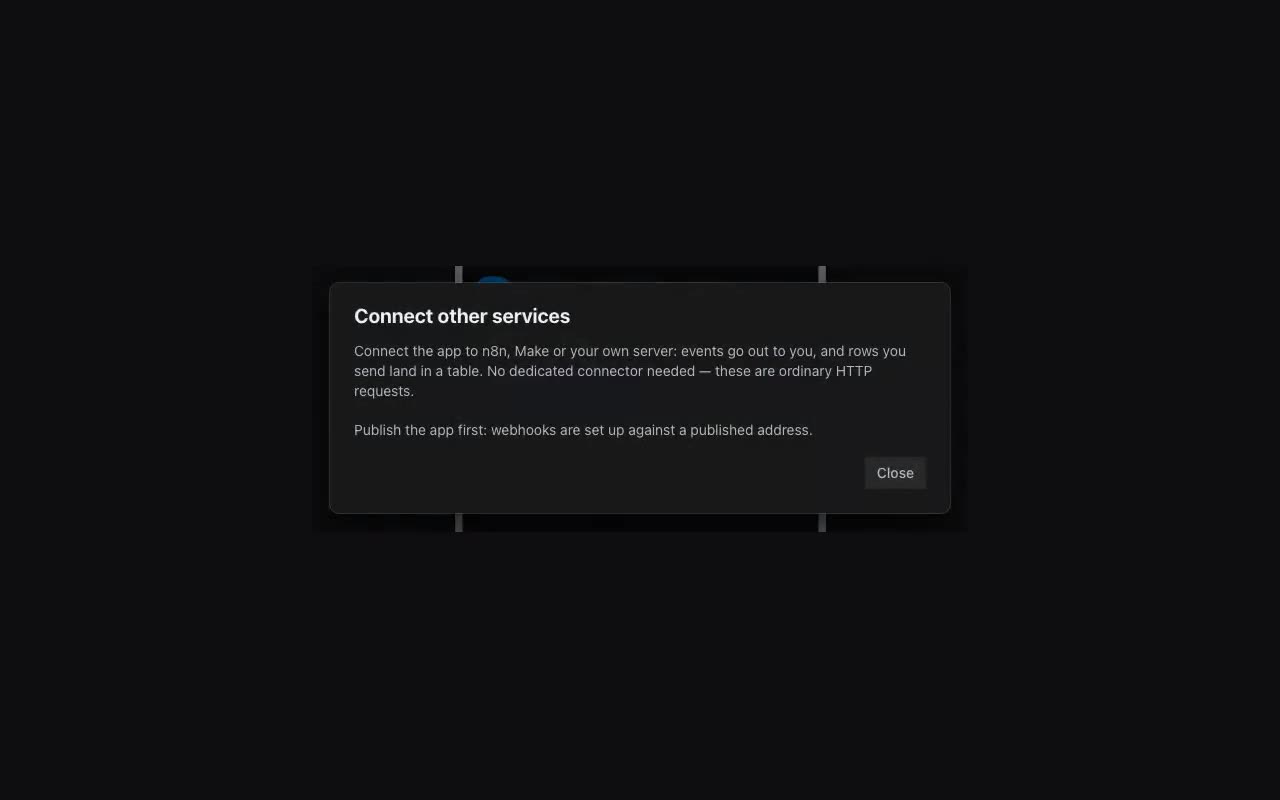
Where: The Data tab → “Connect other services” (or the More menu). The app must be published.
There is no dedicated n8n connector and none is needed. n8n, Make, Zapier and a script on your own server all do the same two things: receive an HTTP request and send one. So there are two general-purpose halves here, and they connect to all of them at once.
- Events going out. Paste the address your scenario gave you (in n8n that is the Webhook node) and tick what to report: a submitted form, a row added or changed, a payment that went through. HTTPS only.
- Press “Send a test event” — we call the address right away and show you what it answered. Faster than placing a real order just to check.
- Rows coming in. Pick a table and we hand you an address with a key inside it. A
POSTwith a JSON object adds a row; the object keys are the column keys.{"row": {…}}works too — both shapes are accepted.
An outgoing event always has the same shape: id, event, app, at and data with the details. The id stays the same across retries, so your scenario can drop a duplicate when our response got lost after you had already recorded the order.
If your server does not answer we retry: immediately, then after a minute, two, four and so on — six attempts over roughly an hour. What went out and what did not is right there in the recent deliveries list, with the response code. Each key is rotated by the button next to it: a leaked key gets replaced, not switched off.